STAY TUNED!
Subscribe to our newsletter and get the 600+ pages eBook Inside ARES:
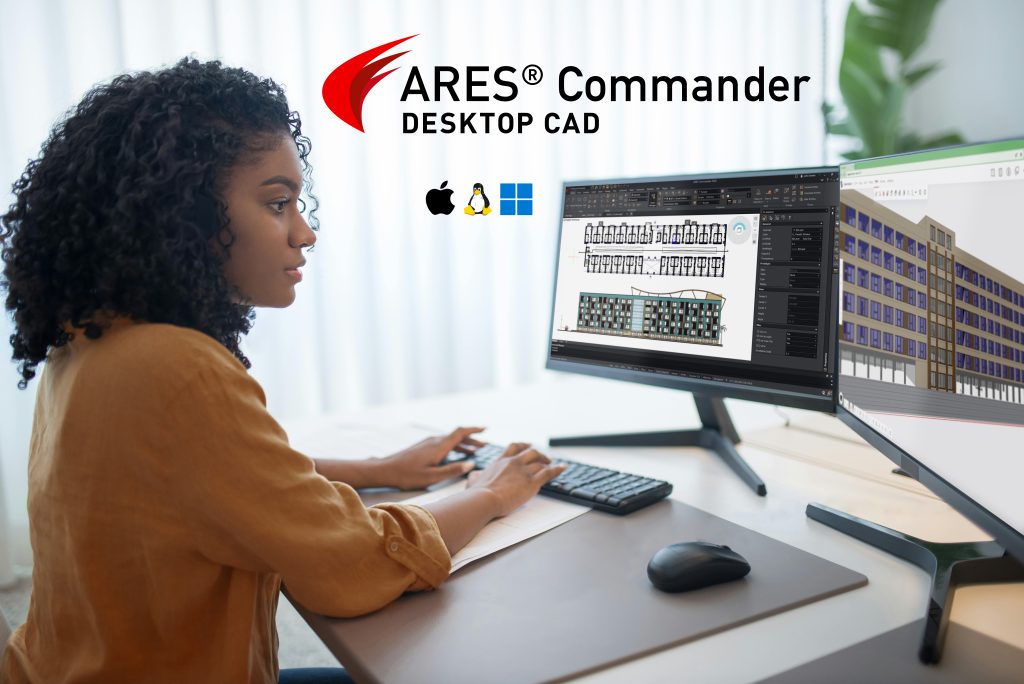
Graebert has released a new version of its desktop CAD software solution: ARES Commander 2027. A full-featured, DWG-native application for...

PDF is a widely versatile file format, and one often used when sharing CAD drawings. However, the amount of information...

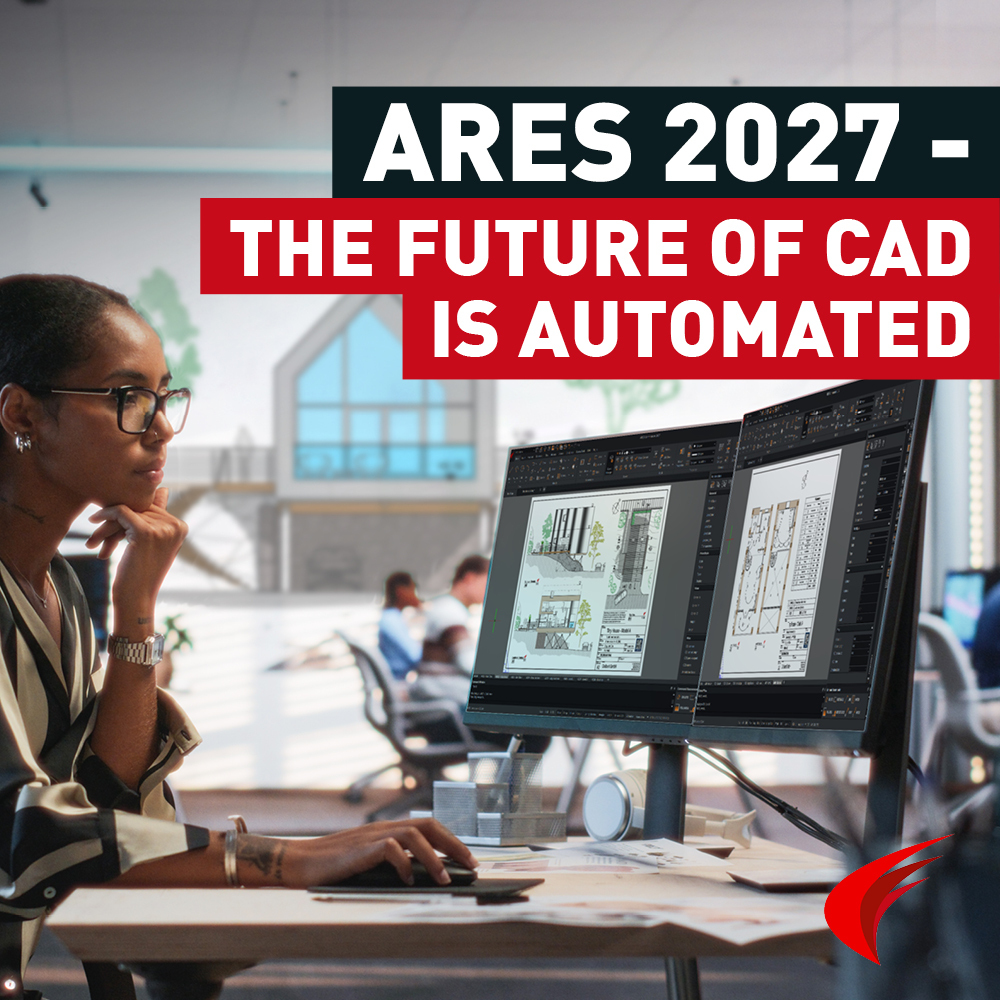
Graebert has officially launched ARES 2027, and this year’s release makes one thing very clear: the company is going all-in...
Amit Kumar tries out the ‘Repeat Command’ on CADblogbyAmit “If you want to use a command multiple times and don’t want to press enter key again and again after using command every time then you can use REPEAT command to keep command running in an infinite loop” Read the full article on CADBlogbyAmit.

Ralph Grabowski from WorldCAD Access remarks on ARES Touch “ARES Touch is the only mobile CAD program that endeavors to pack in a complete set of drawing and editing functions on a tablet. Not only is it command-rich, but it hosts third-party customization, something not even Autodesk has attempted” Read the full article on World CAD Access here.

Working With QUICK INPUT ARES Commander 2016 gives us information about the command that we are using directly at the pointer. At the same time, it offers us the coordinates of the position of the pointer. By clicking on a point, the Quick Input options appear. This is a new feature in ARES Commander that can be activated or deactivated here. When activated, contextual information appears about the angles and distance from the starting point. In this case, I can write a distance, for example. Then after pressing the TAB key, we can also change the angle, in this case adding degrees. Press ‘Enter’ to confirm the changes and to create the new point. Now we can let the polyline end perpendicular to this rectangular shape here. But when the pointer moves, we can see that many entity snaps appear. That’s why we should use the snap filter by combining
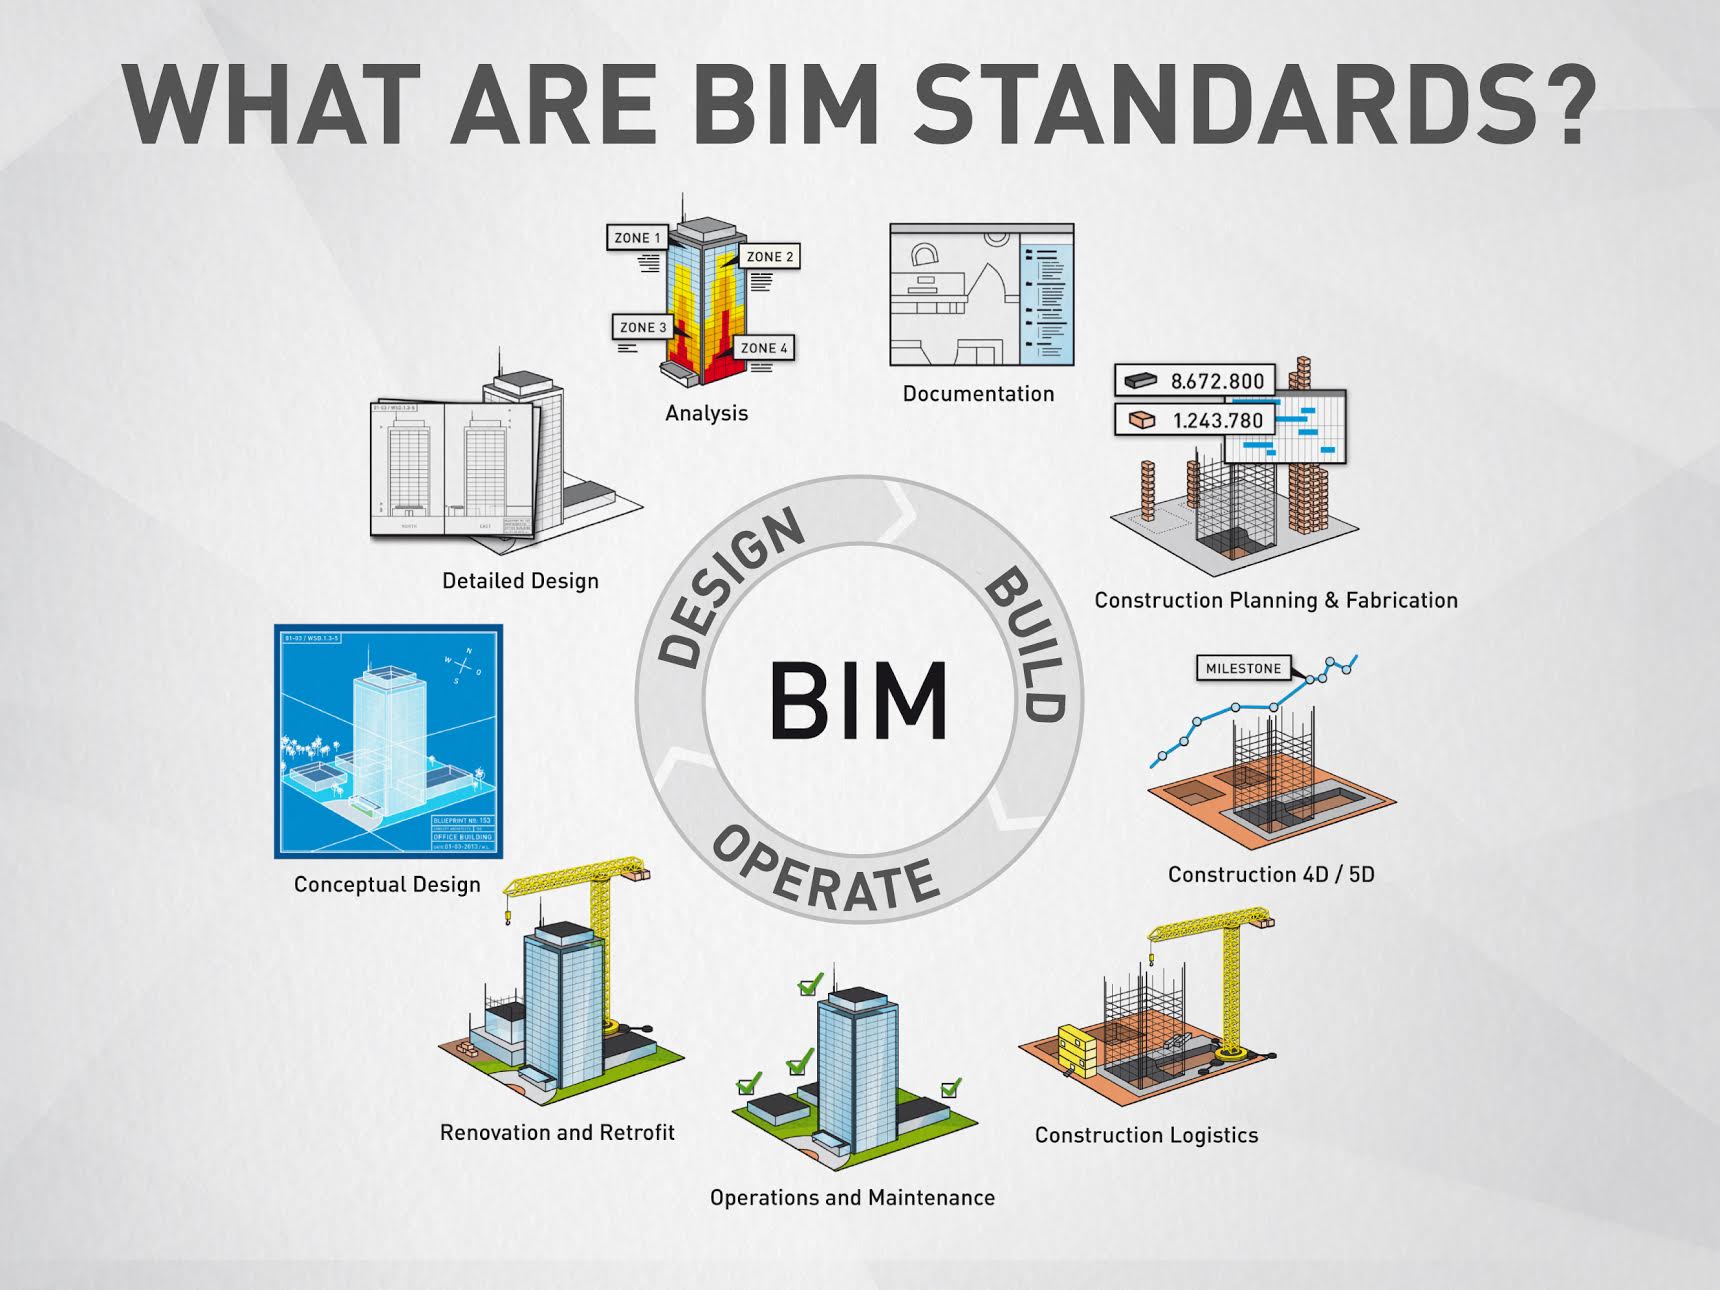
Building information modeling (BIM) is how architects today design buildings — or at least that is the hope of CAD software firms. Because of how BIM software is implemented, it is highly incompatible with competitors, and so this effectively locks in entire regions to a single supplier. When one CAD vendor gains a significant foothold in the region with its BIM software, clients and customers need to use the exact same software or else suffer the inability to land work. The following article is an abstract of the eBook ‘Best CAD Practices’ by Ralph Grabowski. Graebert is happy to share with you some of the experience accumulated by Ralph as a CAD expert and as compiled in his eBook for which the reference can be found at the bottom of the page. Feel free to share feedback in the comment section below. There is a solution: IFC. Industry foundation classes are

Matteo Luccio writes about GIS contents and a full-featured dwg-based CAD system “Graebert GmbH, a German company that has specialized in CAD for more than 30 years, announced the upcoming release of ARES Map, a hybrid CAD-GIS solution it created in partnership with Esri. It merges Esri’s ArcGIS Online with Graebert’s DWG-based ARES Commander CAD engine, which has hundreds of CAD features.” Read the full article on xyht.com

Ralph Grabowski from WorldCADaccess speaks about SiteMaster “SiteMaster is the quietly successful secondary business from Graebert, for cataloging the contents of buildings – from measuring floor plans to designing kitchens. For example, Bank of America used it to survey 3,000 branches in the USA in eight months. Also, 10 million square feet of government buildings for the City of Berlin.” Read the full article on WorldCADAccess here
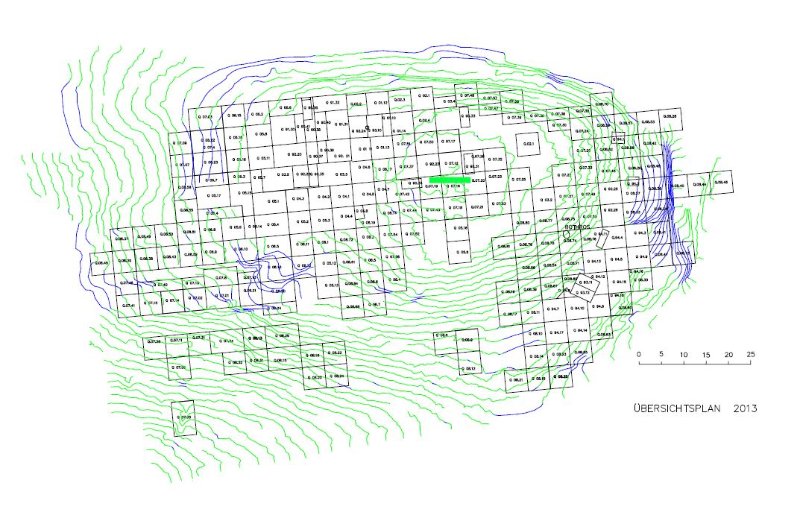
Architect and archaeologist Irene Blum works at the University of Bochum, Germany. She uses ARES Commander for excavation work in an antique city in Turkey. “As our activity goes on for many years at the same location but with changing staff, we need a user-friendly and versatile CAD program” Detailed Plans The ability of unlimited zooming in and out allows to create detailed plans of all the findings such as walls, components, fountains – everyone in the team has access and can see the area they are working on. “We feed ARES Commander with the coordinates we gain from surveying the site, so we can reproduce any point or line to scale – and also later identify where exactly this is on site”, says Blum. For this the various layers are a great help: Even the most diverse topics can be visualized individually or in any combination. This may be

Ralph Grabowski from WorldCAD Access talks about OnShape “All about the drafting component in OnShape” Read the full article on WorldCADAccess here

Ares Commander 2015 presents “PowerTrim” Trim and extend CAD entities on the fly with the PowerTrim feature in ARESCommander. 0:00:08.720,0:00:15.200 ARES Commander 2015 presents “PowerTrim” to trim and extend better and faster 0:00:15.200,0:00:18.000 than in any other CAD software before. 0:00:18.120,0:00:19.980 Let’s see this example 0:00:20.040,0:00:23.280 Find the tool here in this drop down menu. 0:00:23.420,0:00:25.040 Click on the screen, 0:00:25.120,0:00:28.260 keep the button pressed and drag it. 0:00:29.040,0:00:33.480 This line lets you trim easily on the fly. 0:00:34.140,0:00:40.120 In addition, if we keep the SHIFT key pressed, TRIM turns into EXTEND. 0:00:40.560,0:00:43.660 So we can also extend easily. 0:00:44.460,0:00:50.340 In another example, select PowerTrim, click on the screen, keep the button pressed … 0:00:50.500,0:00:55.920 and drag to trim. Drop, and position the cursor somewhere else. 0:00:56.080,0:00:59.920 Press and drag with the mouse. 0:01:00.740,0:01:04.100 Keep SHIFT pressed to extend. 0:01:04.960,0:01:10.420 Finally, with PowerTrim, we can also clean corners. 0:01:18.640,0:01:20.100 Thanks for

Graebert India’s new office was inaugurated on October 26th, 2015 in Noida, India by CEO Wilfried Gräbert. Graebert has been strongly investing to become a major player on India’s CAD market for desktop, mobile, and cloud. “This new office is a milestone for our company – I clearly see the Indian market having great sales potential for Graebert’s desktop, mobile and cloud CAD technology applications” said Mr. Wilfried Gräbert, who came to the HQ inauguration in Noida with Mrs. Gräbert. “Three years ago we started the Indian operation with a team of 10 people and now we have more than 30. At our Annual Meeting in Berlin we announced that along with the desktop development, we are working aggressively on mobile and cloud technology. Our new Indian office is an important part of this development.” In its latest Mobility Report in June 2015, Ericsson announced that India is currently accounted
Did you know that ARES Touch, our mobile DWG Viewer & Editor, is available for both Android and iOS?